How to Use Spray Caddie When Topdressing Golf Greens with Sand
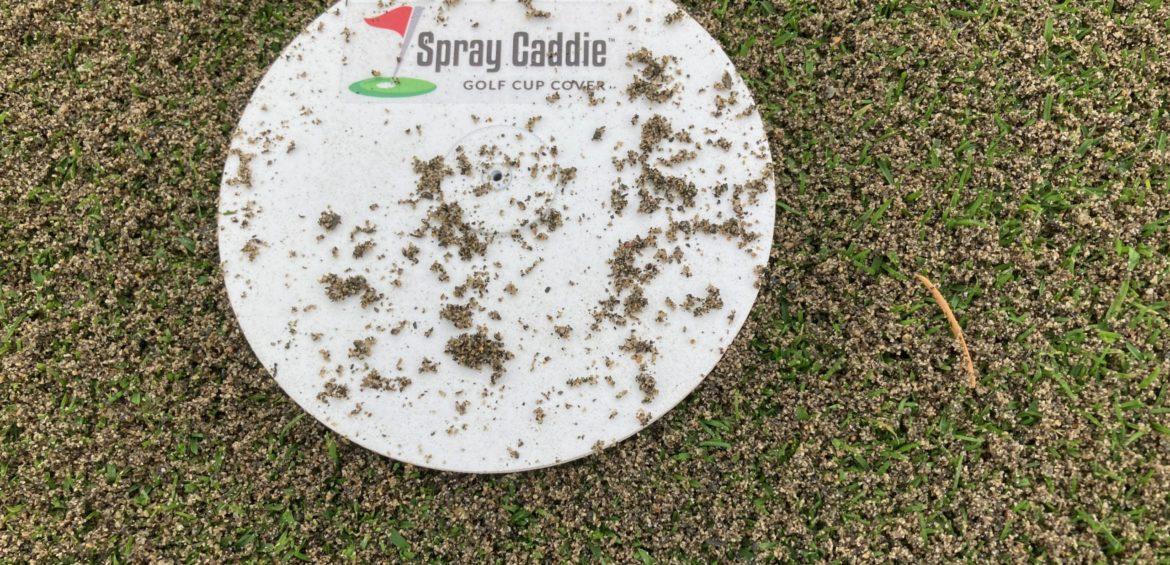
When topdressing golf course greens, sand can easily be deposited into the golf cup. Left uncovered, the cup becomes a hole where the sand can accumulate. Not only is it unsightly, but sand, especially wet sand, clogs the point where the flag inserts into the cup, making it difficult to remove the flag during play.
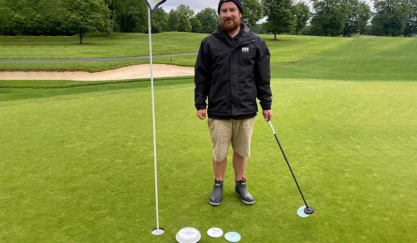
Spray Caddie™ Golf Cup Cover shields the inside of a golf cup during sand topdressing on golf greens and multi-hole practice facilities. It works for any type or amount of sand used for top dressing.
If using Spray Caddie for the first time, read the directions for mounting your Spray Caddie wand to your vehicle.
Here’s how to put Spray Caddie to work on your golf course when you topdress:
Top Dressing Golf Course Greens with Spray Caddie
The goal of using Spray Caddie during a topdressing with sand is to shield the golf cup from getting any sand inside the hole. Spray Caddie is recommended for use for light topdressing. If doing a heavy topdress that requires a drag mat to finish up, the mat may move the Spray Caddie Golf Cup Cover out of place.
Step 1: When you arrive at the first green you plan to top dress, park your vehicle. Depending on the vehicle used for top dressing (a utility cart with a tow behind topdresser, all-in-one vehicle, etc.) you may want to mount the magnetic wand to the vehicle or simply have it in the cart or driver’s seat beside you. Get out of the driver’s seat, then grab the Spray Caddie wand.
Step 2: Step 2: Walk over to the golf hole on the green. If there is a flag in the hole, remove it, and place the Golf Cup Cover over the hole, making sure there are no gaps. With a roll of the wrist, disengage the cup cover from the magnetic wand head. Set flag out of the area to be sanded.
Step 3: Walk back to your vehicle. Replace the wand to the mounting magnets on the vehicle or place the wand and Spray Caddie Golf Cup Cover in your vehicle. Get back in the vehicle and topdress as normal.
Step 4: Once the top dressing is completed, park your vehicle, get out of the driver’s seat and grab the wand. Walk over to the flagstick on the ground and, using the wand, slip the wand head under the flag to lift it up without having to bend over. Grab the flagstick in your other hand.
Step 5: Walk over to the golf hole with the wand in one hand, flagstick in the other.. Roll the head of the magnetic wand over the Spray Caddie Golf Cup Cover to engage the magnetic connection. Lift the Spray Caddie Golf Cup Cover off of the hole. Replace the flagstick.
Step 6: Walk back to your vehicle. Mount the wand to the magnets with Spray Caddie Golf Cup Cover still attached, or place the wand and Spray Caddie Golf Cup Cover in your vehicle, and drive to your next green to topdress. Repeat the process until you’ve finished top dressing for the day.
Top Dressing Multiple-Hole Practice Facilities with the Spray Caddie™ Caddie
Most practice facilities have areas for chipping and several holes for putting. If your practice facility has more than three holes, you might consider purchasing a Spray Caddie 3-pack or Spray Caddie 6-pack, which comes with a convenient Spray Caddie™ Caddie that holds up to 9 Spray Caddie Golf Cup Covers. These instructions are for the use of the 6-pack with Spray Caddie™ Caddie.
Step 1: Drive your vehicle to your golf course’s multi-hole greens complex. Park rig and step off.
Step 2: Walk over to the practice green, remove flagsticks from each of the golf cups. Set flags aside, away from the path of your planned top dressing.
Step 3: Grab the Spray Caddie™ Caddie and magnetic wand from your vehicle.
Step 4: Walk over to the nearest golf hole. Grasping the handle of the wand, slip the magnetic head over the top Golf Cup Cover in the Caddie. Lift it out of the Caddie.
Step 5: Lower the wand head, now with the Cup Cover attached, and place the Golf Cup Cover over the cup, covering the entire hole. Be sure there are no gaps. The Spray Caddie Golf Cup Cover is slightly larger than the cup and should cover the entire hole. With a roll of your wrist, disengage the magnetic wand from the center of the Spray Caddie Golf Cup Cover.
Step 6: Repeat this action for each of the holes on the practice green.
Step 7: Walk back to the vehicle. Replace the wand to the magnetic mounts or place it into your vehicle. Put the Caddie on the floor of your vehicle or on the seat beside you. Get back in the spray rig and make your topdress application as normal.
Step 8: Once the top dressing is complete, park the spray rig, get out of the driver’s seat and grab the wand and Caddie. Reverse the process, using the wand to lift up each Golf Cup Cover. As you insert the Golf Cup Cover back into the Caddie, use the handy release tab inside the Caddie to help disengage the Golf Cup Cover from the wand head.
Step 9: Once all Golf Cup Covers are back in the Caddie, store the Caddie and wand back on/in the vehicle.
Step 10: Grab the flagsticks and replace them into the holes.
How to Clean Spray Caddie
After each use, it is recommended that you clean the Golf Cup Covers & Spray Caddie™ Caddie before storing them until the next use. Cleaning Spray Caddie is easy. Simply rinse with water. Wipe dry with a clean cloth. That’s it.
Whatever you’re spaying, Spray Caddie’s got you covered!™


